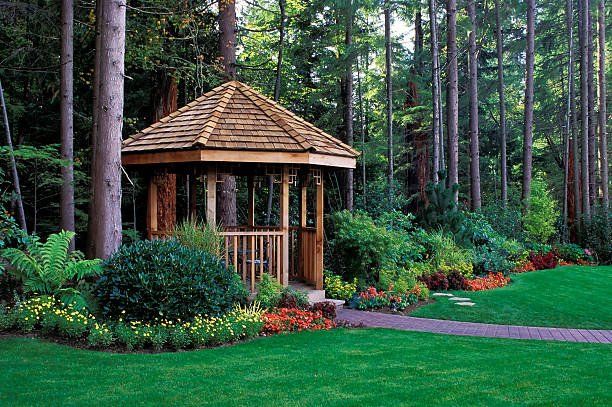
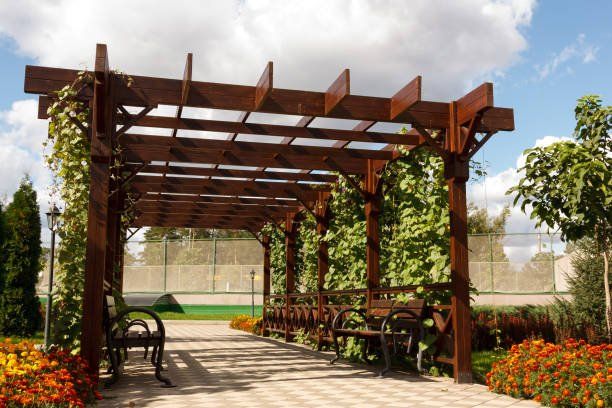
Paver Walkway
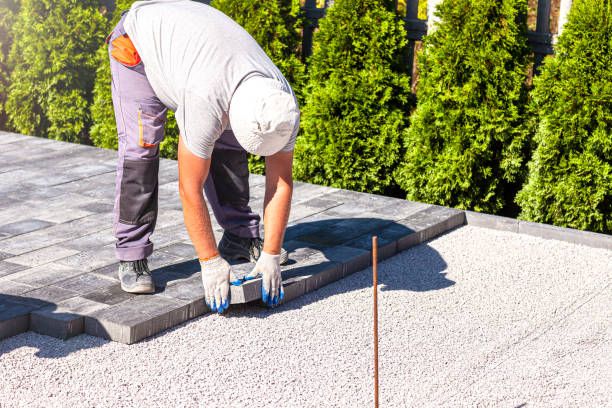
You will want to pre-determine the amount of space you have to work with before you begin laying the pavers. The amount of space determines what size and how deep you can lay the paver walkway on. Before you begin playing, you will want to lay out your plan on paper first. This includes mapping out where the paver walkway will be situated.
Next, it is important to map out where the pavers will be laid. It is helpful to sketch your plans on graph paper using the opposing sides of your house as your set of points. The distance between the points is called the bed of the paver walkway, also known as the stem. The thickness of the bed is determined by the material you choose to use to pave your pavers: paving stone walkway is most commonly laid with asphalt sand or loose aggregate sand. The bed is then cut to the right depth at the correct intervals, so that the stones do not stack up on one another. The cutting depth depends on what kind of stone you are using: asphalt sand can be cut as shallow as one inch deep.
Laying your paver walkway is only half the battle. You now need to determine if you will be laying your pavers in a series or single row. If you are laying the pavers in a single row, your construction adhesive must be applied to all of the bricks in the row and then only the paver walkway is peeled off to expose the next row of bricks. For each row, you will need an additional three coats of construction adhesive, which provides more adhesion for each brick.
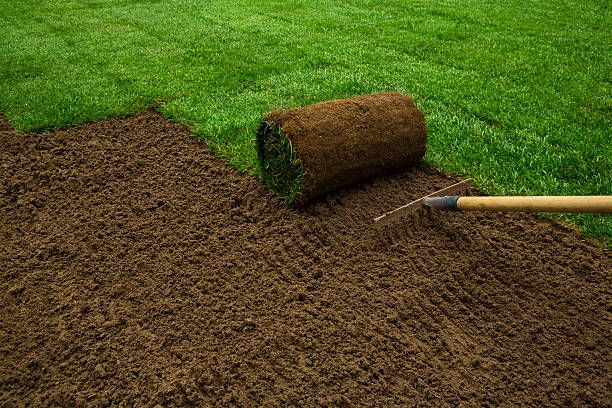
Once you have correctly positioned the pavers in your yard, you can begin to fill in the holes with dirt or stone. To lay your pavers in an even layer, use a heavier amount of aggregate or paving stone than usual, as larger amounts of gravel can make the paver walkway look uneven. If you have a large area that needs to be paved, you can use a variety of tools to level the surface and to make ridges in the paving. You can even use concrete edging to create proper drainage for your paver walkway: simply line up the edging about three to four inches from the edge of your paver walkway and then push the line of concrete straight up into the ground, making sure to push it in a downward direction.
In addition to using aggregate materials, another way to create the right look for your DIY walkways is to use natural materials. For instance, if you have a field that has been developed with soil that is not ideal for growing crops, removing the topsoil and replanting the seeds and dirt can create a nice, healthy flower garden right on your paver walkway! Another way to incorporate soil into your paver walkway is to mix it into the gravel before pouring it onto the paver stones. Using gravel and the right kind of sand can improve drainage and keep your walkways from being slick and wet. Finally, keep in mind that you can always repave your DIY walkway when the grass begins to grow.
Our Other Services